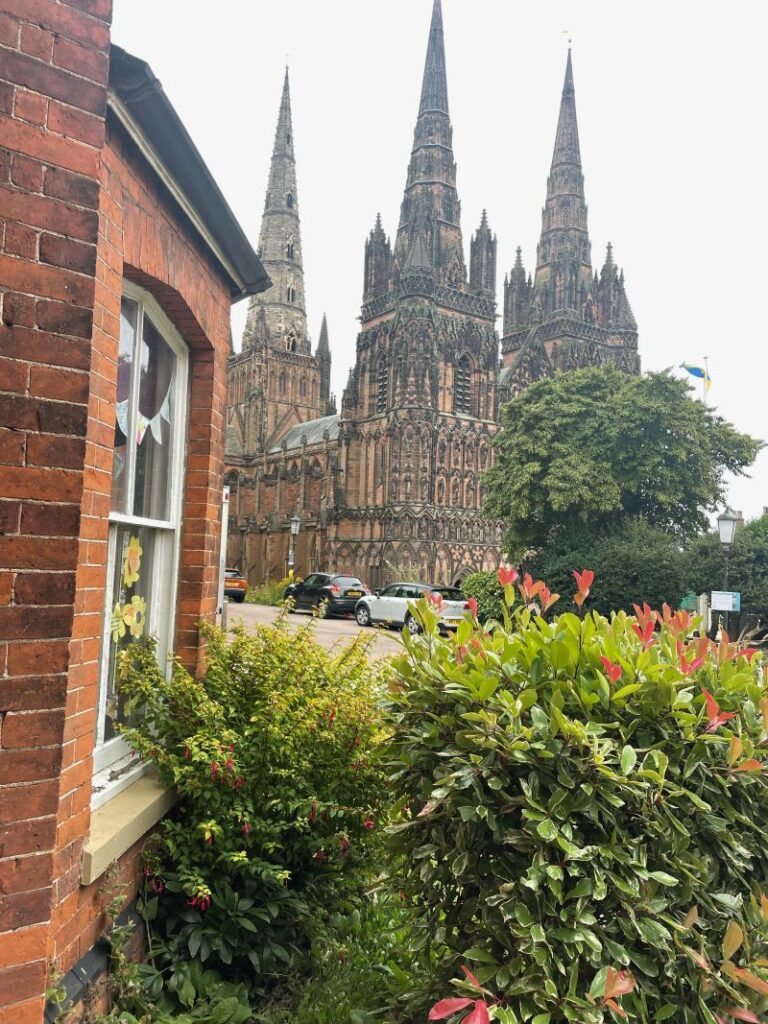
I was recently invited over to Lichfield Cathedral School to look at restoring the large Victorian Tile Hallway at the entrance to the school. The school is in the magnificent grounds of Lichfield Cathedral and has a long history.
The Victorian tiled floor was certainly testament to that history and had clearly seen a lot of wear of the years with many damaged or missing tiles that would need replacing.
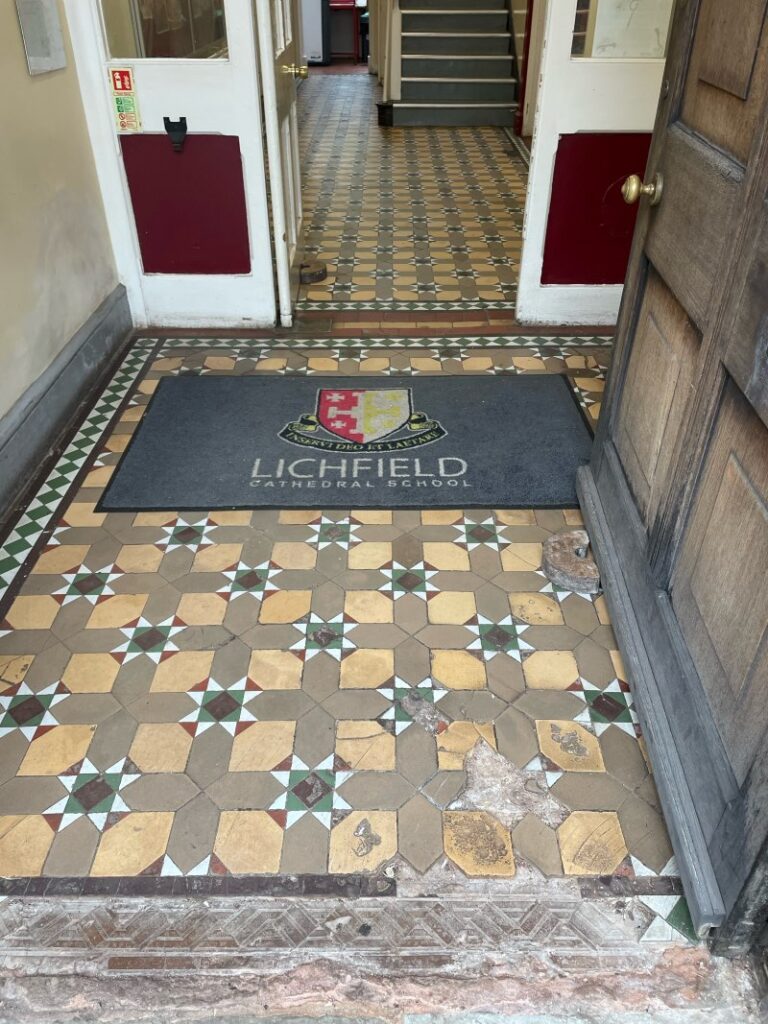
Surveying the floor, I took measurements and made a detailed note of the number of tiles that would need replacing. From this I was able was able to create a quote and was able to re-assure them about their concerns about the replacement tiles.
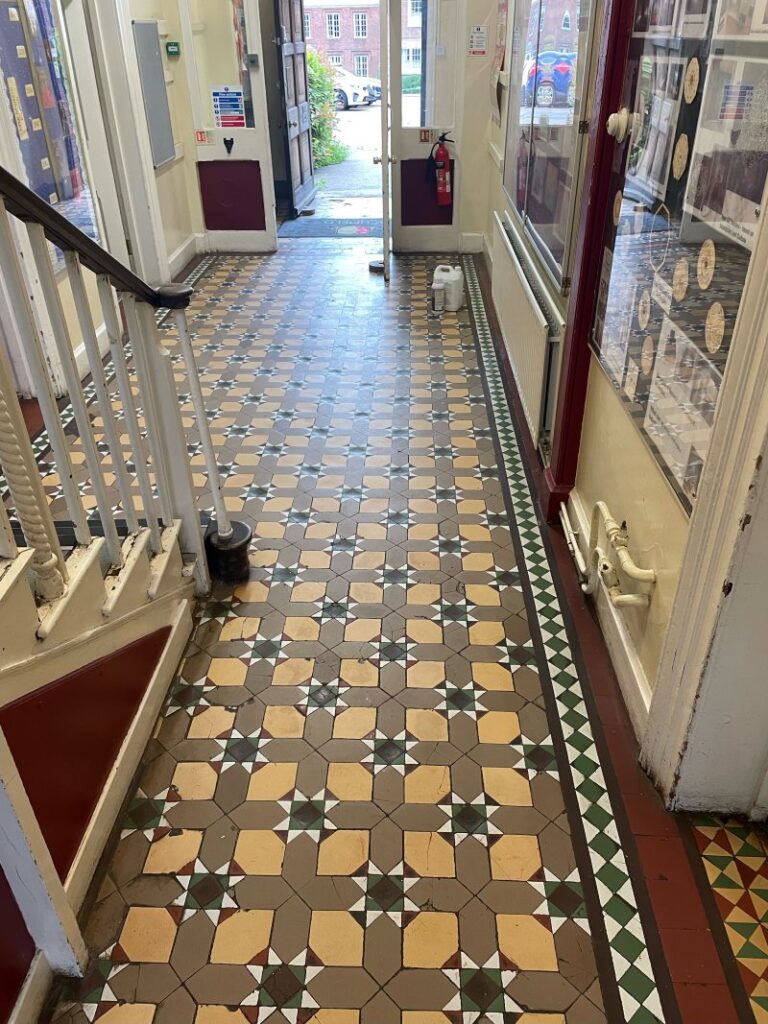
Happily, my quote was accepted and the work scheduled for the summer holidays when I would have the floor to myself and so it would be ready for the new term. Before my arrival I contacted a specialist supplier and ordered the tile replacements.
Replacing Damaged Victorian Floor Tiles
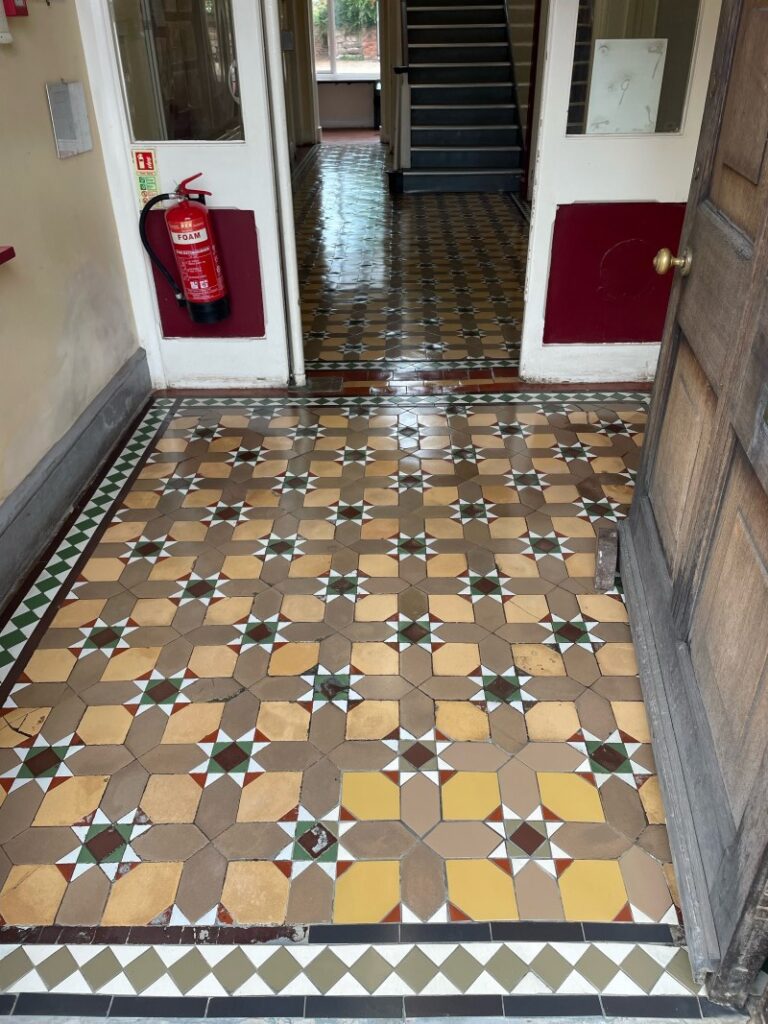
The first couple of days was spent repairing the tiles at the front entrance. They wanted to keep the floor as original as possible so I only replaced broken and missing tiles.
This process involves removing the damaged tiles and scrapping out the subfloor to remove old adhesives and grout. This has to be done very carefully as removing one tile can dislodge others and before you know the job becomes much bigger than anticipated. Once done the replacement tiles are cut to size and fixed in place using a flexible adhesive.
Day 2 – Deep Cleaning Victorian Floor Tiles
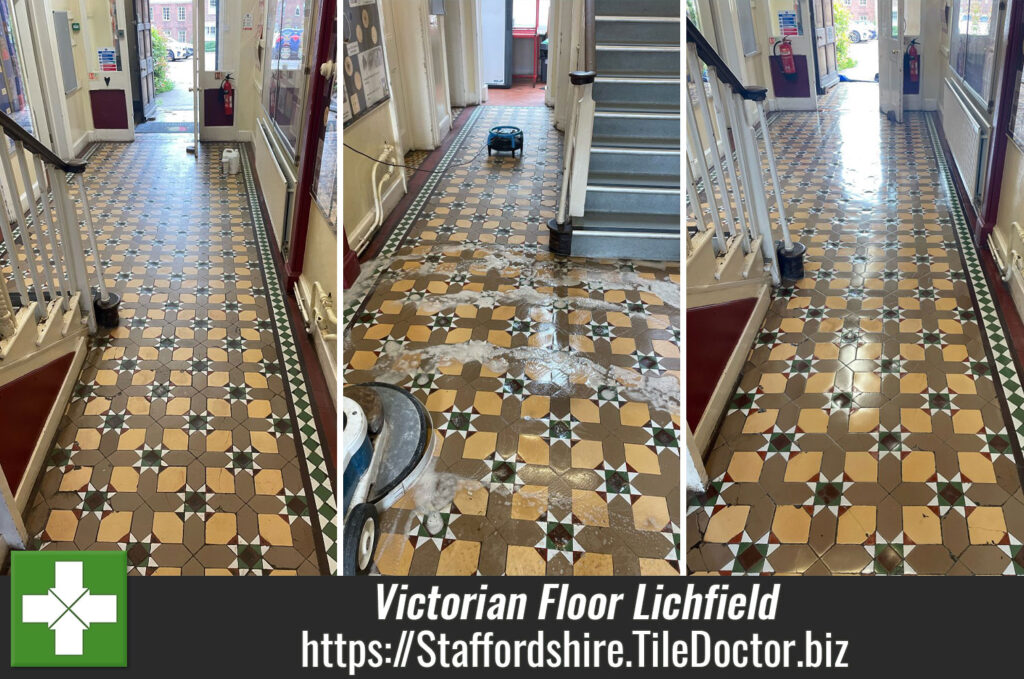
Once the tiles had set I moved onto giving the tiles a good deep clean using a strong dilution of Tile Doctor Pro-Clean which a very effective alkaline cleaning product that’s safe to use on tile, stone and grout.
The Pro-Clean was applied to the tiles in the hallway and entrance working in large sections at a time. For best results the solution is left to soak into the pores of the tile for about ten minutes before being scrubbed in using a rotary machine fitted with extra weights and a coarse 50-grit diamond pad.
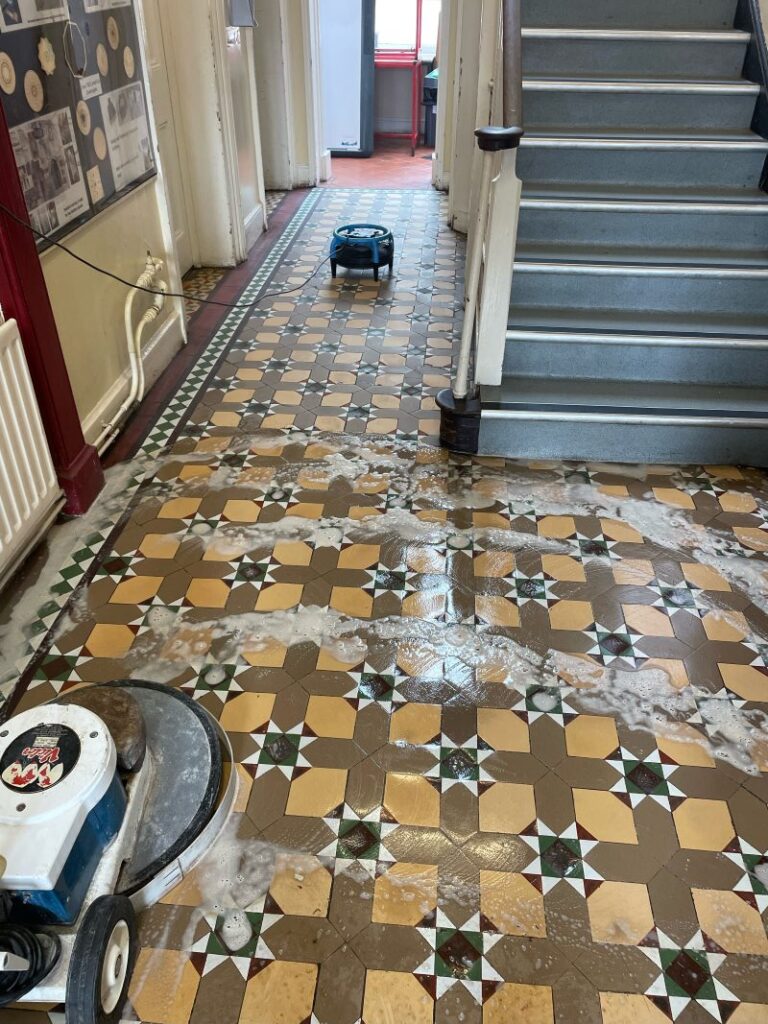
The scrubbing action pulls the dirt out of the tiles and turns the cleaning solution black. The soiled solution is then extracted from the floor using a wet vacuum and the process repeated in areas that I felt could do with further attention.
Next the floor was given an acid rinse using Tile Doctor Grout Clean-up and worked in with a Black scrubbing pad. This process neutralises the floor after the use of an alkaline cleaner whilst further cleaning the tiles to removes old grout smears and other mineral deposits. Once done the floor was rinsed with water and the soiling extracted again using the wet vacuum.
I scrubbed the product into the tiles using a deck brush and then rinsed it off with water and extracted with the wet vacuum. Being an Acid, we don’t recommend you leave it on the floor for too long.
Day 3 – Sealing Victorian floor Tiles
A lot of water is used in the cleaning process and I wanted to be sure the tiles were dry before sealing, so I left it five days before returning to apply a sealer.
The tiles were sealed with four coats of Tile Doctor Seal & Go Extra allowing 30 minutes drying time between coats, there were a lot of tiles to cover so it took some time to complete the whole floor. The seal enhances the appearance of the tiles giving them a subtle sheen and will ensure dirt remains on the surface where it can be easily cleaned away.
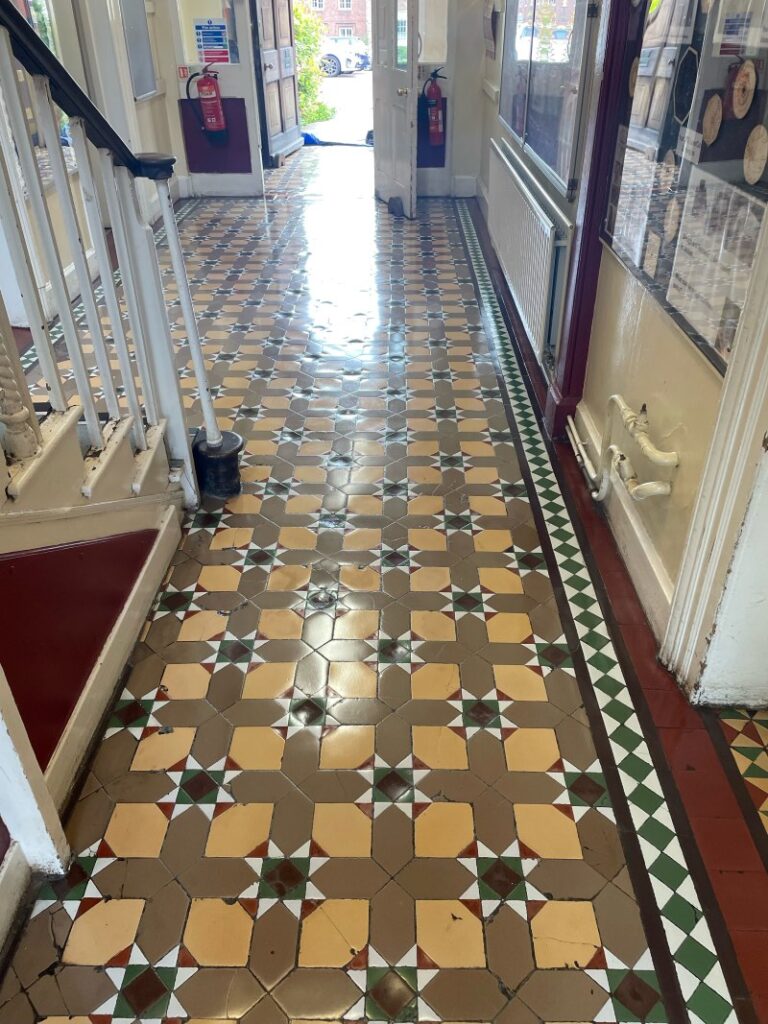 |
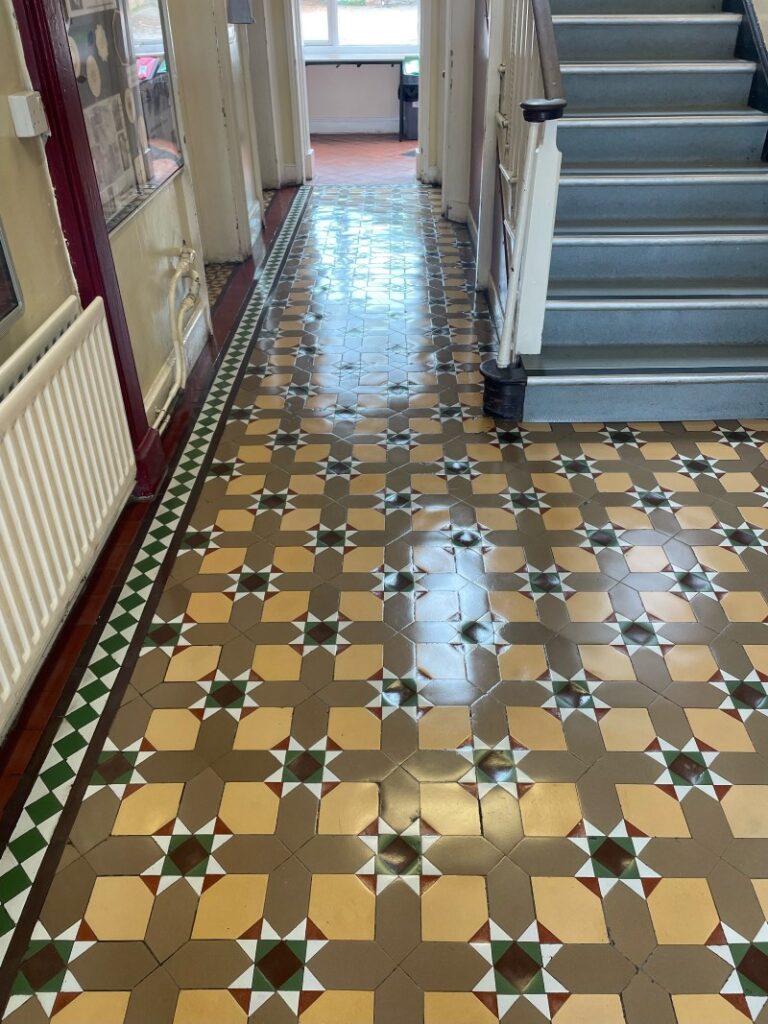 |
On the topic of cleaning, I always recommend using Tile Doctor Neutral Tile Cleaner which is designed for the cleaning of sealed tile and stone. Unlike the stronger products you usually find in supermarkets it has a pH neutral formula that won’t degrade the sealer prematurely with use.

Great renovation, and thanks for pointing out that we cover Commercial as well as Residential tile installations; in-fact there are over 50 Tile Doctors operating throughout the UK so we are able to provide specialist services to businesses on a local or national level.